How to Make a Bike Basket Cover?
As cycling enthusiasts, we know the joy of the open road and the wind in our hair. Our Bobbin bikes become our companions, carrying us to places both familiar and new. But with every ride, bike baskets face the elements, from rain showers to dusty trails.
That’s where a bike front basket cover comes to the rescue! A simple yet clever solution to keep your belongings safe, dry, and stylishly shielded.
In this DIY guide, we’re diving into the art of crafting your own. Taking this project is both rewarding and functional, that’s for sure! So, what are you waiting for? Let’s dust off those sewing skills, shall we?
Materials needed
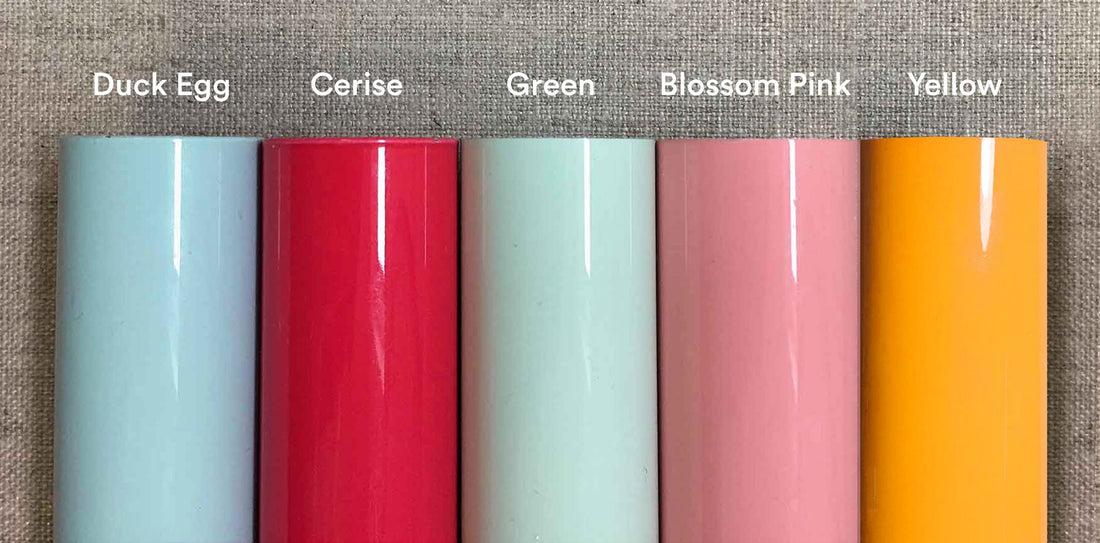
- Fabric: Choose a durable and weather-resistant fabric that suits your style.
- Sewing machine (optional): Using one will make the process smoother and more efficient.
- Thread: High-quality thread enhances stitching strength and prevents fraying over time.
- Measuring tape: Accurate measurements are key for a snug fit on your bike basket.
- Scissors: Sharp scissors ensure clean cuts and professional-looking edges.
- Elastic or drawstring: For securing the cover in place while riding.
- Pins or clips: These hold fabric layers together during sewing, aiding precision.
- Iron and ironing board: Pressing seams and edges for a polished finish.
- Embellishments (optional): Add decorative bicycle accessories to showcase your personal style.
Step 1: Measurement and preparation

(Image Credit: Wikimedia Commons)
To ensure a perfect fit, measure the length, width, and depth of the kids bike basket. Place the measuring tape along each dimension’s inner edges for accuracy.
Adding seam allowances, typically ½ inch to 1 inch, around your measurements is vital. These extra margins accommodate sewing seams. They also prevent the cover from ending up too tight after stitching.
Before cutting, pre-wash your chosen fabric to prevent potential shrinkage later. Follow the fabric’s care instructions, as different materials require different treatments. This ensures your cover maintains its size and shape, even after exposure to the elements.
Step 2: Cutting the fabric

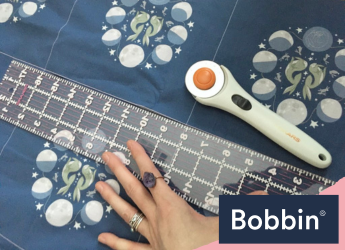
Using the measurements you’ve taken, mark the fabric with chalk or fabric pencil. Double-check the markings before cutting to prevent errors. Use sharp scissors or a rotary cutter for clean cuts.
To achieve straight lines, align the fabric’s edges with a ruler or a cutting mat as a guide. Consider using pattern weights to hold the fabric in place.
To prevent fraying, use pinking shears or apply a fabric fray preventer along the cut edges. This attention to detail ensures the gingersnap basket cover’s appearance.
Step 3: Sewing the cover

Following a logical sequence simplifies assembly. Begin with hemming the edges before joining larger fabric sections. This approach prevents unnecessary complications and streamlines the process.
To sew the main body, fold and hem the cover’s edges to create clean, finished edges. Sew the fabric panels together, right sides facing, leaving an opening for turning. Turn the cover right side out and press it for a neat appearance.
For pockets or straps, sew them onto the main body before final assembly. Secure them with reinforced stitching for durability and weight-bearing capacity. Such additions can add flair when paired with decorating garland.
Maintain uniform seam allowances by using sewing guides or marking tools. Use slow and steady stitching to prevent uneven seams. Adjust your sewing machine settings if necessary. Top tip: Perform test stitches on scrap fabric before sewing the main cover.
Step 4: Adding elastic or drawstring
Choosing between an elastic and a drawstring depends on personal preference and practicality. Elastic provides quick and secure closure, ideal for easy access. In contrast, a drawstring offers versatility in adjusting the tightness.
For attaching elastic, start by measuring the circumference of your basket’s opening. Then, cut a corresponding length of elastic. Sew the ends together and evenly distribute the gathers.
For a drawstring, sew a casing along the cover’s opening, leaving openings at both ends. Insert a drawstring through one end, thread it around the casing, and pull tight.
Top tip: If neither suits your style, consider buttons, snaps, or Velcro closures.
Step 5: Finishing touches

After sewing, press seams open or to one side using an iron on a low heat setting. For crisp corners, trim the excess fabric at an angle before turning the right side out. Use a point-turner or a blunt tool to push out corners for a professional finish gently.
Elevate your cover’s aesthetics with decorative stitching. Consider the design of your vintage bike basket to select decor that suits the cover. Take a moment to assess its unique characteristics. This will ensure the chosen embellishments harmonise flawlessly with the cover’s aesthetic.
You may consider zigzags or contrasting thread colours. Appliqué adds personality, making it worth considering. To do so, cut shapes from coordinating fabric and stitch them onto the cover. These creative choices make your cover uniquely yours.
Round-up
This DIY journey isn’t just about a finished product. It’s about the pride of creating, the joy of riding, and the satisfaction of a job well done!
Embrace your fresh bike basket accessories and embellish your wheels with certainty! If you’re still on the hunt for the ideal bike front basket, explore our diverse collection. We cater to kids bicycles and Bobbin bikes adults, ensuring a fitting choice for everyone.
What you should read next: How to Ride a Bike with a Dog in a Basket
Related Posts

Guide to Cycling on Roundabouts
Have you ever hesitated before a roundabout on your bike? If so, we...

Cycling in a Heatwave - How to Stay Safe in the Heat
Cycling in a heatwave? Intense heat and sweating will catch up, but...

Can You Ride a Bike on a Beach?
Beach bike riding sounds dreamy, but you’ll need the right two whee...


