How to Attach and Ride with a Rear Bike Basket
One of the simplest yet incredibly practical accessories you can add to your two wheels is a bike basket. Be it for a daily commute or a weekend ride, rear bike baskets can be a game-changer.
In this guide, we’ll take you through the ins and outs of choosing, installing, and making the most of your basket. Say goodbye to awkwardly carrying bags and hello to the convenience of your trusted cycling companion!
Choosing the Right Rear Bike Basket

Rear baskets are a versatile accessory designed to enhance the functionality of bikes. They are typically installed at the rear of the bike, attached to the rear cargo rack or pannier rack. They provide convenient storage solutions, allowing cyclists to carry various items. This includes but is not limited to, groceries, backpacks, or other personal belongings.
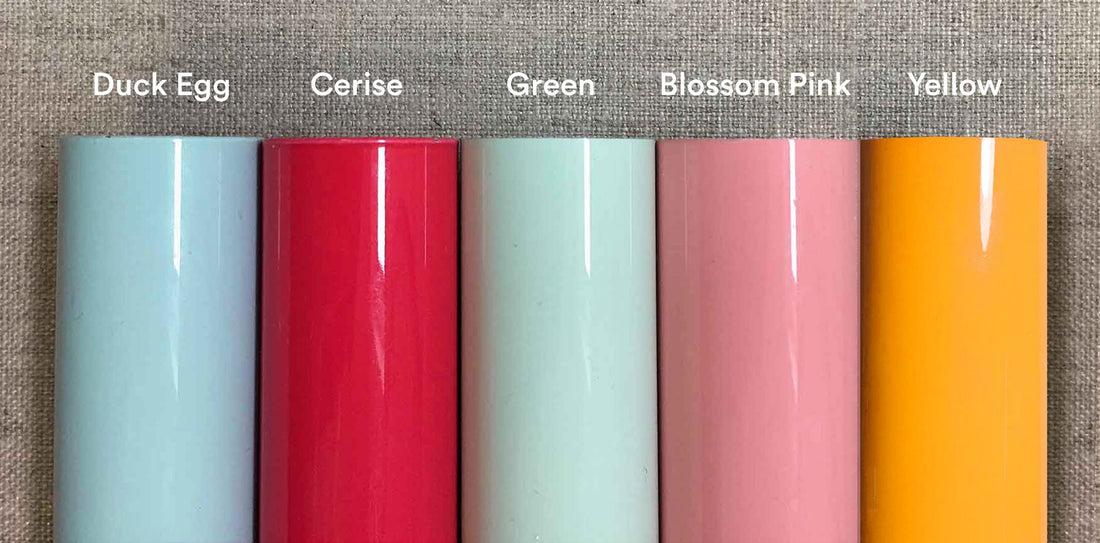
Rear bike baskets come in a range of types and materials. Common materials include metal, plastic, and wicker. Basket types may vary from open-top designs to enclosed and weather-resistant models.
The choice of a rear bike basket can significantly impact your riding experience. It can influence the balance and manoeuvrability of your Bobbin bike. This centres around factors such as the basket’s weight, capacity, and ease of attachment.
To select the most suitable basket for your needs, consider the following:
- typical cargo
- preferred riding style
- aesthetic preferences
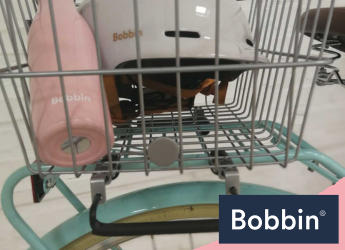
Look for a basket that offers a secure attachment mechanism and ample space to tuck in your items. Just like this rear bike basket, featuring a pannier-style design. Made from powder-coated steel with sturdy hooks and an adjustable clip system. Super-easy to detach and carry as you stroll around the farmers market/craft brewery!
Tools and Materials You’ll Need
Tools and materials needed for rear rack basket installation typically include:
- Screwdriver
- Wrench or Allen key
- Mounting hardware (bolts, nuts)
- Rear cargo rack
- Rear bike basket
- Zip ties or bike rack straps (for extra stability)
Specialised equipment may vary based on the specific basket or rack design. Refer to the manufacturer’s instructions as needed.
Step-by-Step Installation

Attaching a rear basket on your commuter bike can be a straightforward process. This is especially true if you have the right guide to follow for installation, like the one below.
Follow these simple steps for a secure and stable attachment:
Step 1: Position the rack
Locate the mounting points on your rear cargo rack. These are typically located on either side of the rack, near the top. Ensure that the rack is level and properly aligned with your bike frame.
Step 2: Attach the rack
Use the provided screws or bolts to secure the rack to the mounting points. Tighten them with a screwdriver or Allen key. Make sure the rack is firmly attached, but don’t over-tighten, as this can damage the frame.
Step 3: Adjust for balance
Position the rack in such a way that it maintains the balance and stability of your bike. This is crucial for safe and comfortable riding with a loaded basket.
Step 4: Secure the bike basket
Now, attach your rear bike basket to the cargo rack. Most baskets come with pre-drilled holes for this purpose. Line up the holes on the basket with the holes on the cargo rack. Use the included hardware to secure the basket in place.
Step 5: Check stability
Ensure that the attachment is secure and the basket doesn’t wobble. Test its stability by gently shaking it from side to side.
Tips for a secure attachment
- Double-check that all screws and bolts are tightened sufficiently but not overly tightened.
- Consider using additional zip ties or vegan leather straps for added stability.
- Distribute the weight of your cargo evenly in the basket to maintain balance.
With these steps and tips in mind, you’ll have your rear bike basket securely attached. And you’re ready to carry your belongings on your cycling adventures!
Maximising Utility

Maximising the utility of your rear bike bag or basket opens up a world of possibilities:
- Grocery runs: Use it to carry groceries, reducing the need for plastic bags.
- Commute essentials: Transport your work or school bag, laptop, and others with ease.
- Picnic partner: Enjoy a spontaneous picnic with a basket full of snacks and a cosy blanket.
- Shopping spree: Shop for small to medium-sized items without relying on a car.
- Pet transportation: Give your furry friend a safe and comfortable ride. Read our guide on “How to Ride a Bike with a Dog in a Basket” to learn more.
The versatility of a rear bike basket makes it an invaluable addition to your cycling gear.
Round-up
The rear bike basket is a game-changer for cyclists seeking convenience and functionality. It’ll always be there to carry the load, leaving you to enjoy the ride with ease and style. So, gear up, attach your basket, and embark on your next cycling adventure!
Explore Bobbin for a wide range of baskets, including kids bike baskets and bike panniers. Next on your reading list: How to Decorate a Bike Basket with a GarlandRelated Posts

Best Ways to Carry a Folding Bike
Folding bikes are designed to be lightweight and portable, and thei...

Adult Bike Without Gears - What Are the Options?
It’s a real bummer having so few options for bicycles for adults wi...

How to Teach Children to Ride Bikes on the Road
Is your child now more confident with pedalling and able to ride a ...